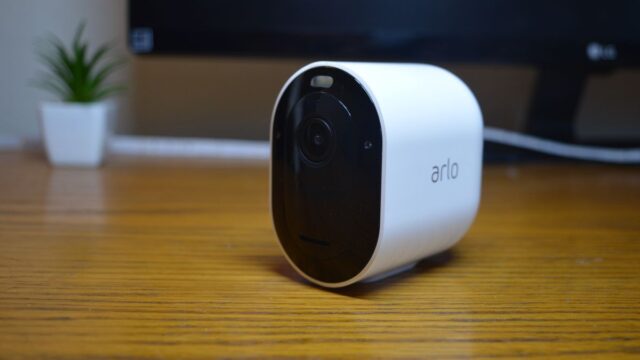
Arlo security cams are the best available security cameras in the market. Consider as an Arlo setup guide to Arlo Camera setup and Arlo base station setup like a pro.Follow the easy steps to install and setup your Arlo cameras.
Securities cameras are getting affordable be it the indoor or the outdoor cameras.
Now why you need the brand of your security camera to be Arlo. Well Arlo cameras support a number of features state-of-the-art design and easy to install camera app which is supported on both Apple app store as well as Google play store.
Arlo camera setup allows you to connect to Google assistant and Amazon Alexa. Verbal instructions such as “Alexa, Please Show my Arlo camera” start the online feed of your Arlo security cam on your mobile screen. Let’s start with Arlo camera setup
Downloading the Arlo APP
Security cameras run with APPs and that’s why you need to download the Arlo camera app available on Apple app store and Google Play store. This app lets you setup your Arlo camera by choosing the model of the camera that you have purchased.
Once you have completed the procedure of Arlo Camera setup you can easily control the cameras from the Arlo web portal via a web browser.This enables you to observe the camera-covered area on a large screen.
Turning your Arlo camera on
Now there are two types of security cameras one of which is wireless and other one needs an outlet. For a wire-free camera, you need to open the camera and install the battery following the instructions. Once the battery is lodged inside the camera housing you need to see the LED on the front of the camera. If the color is amber then you need to charge the camera with the charging cable which is provided with the camera. A blue blinking light indicates that the camera is charging. The wired cameras need to be six feet from the outlet.
Connecting your Arlo Camera to your Wi-Fi network
Done with Arlo base station setup Once you have installed the Arlo App on your mobile device you need to connect your mobile to the working Wi-Fi network in your home or office premises. Your Arlo security camera works on 2.4 GHz band only. Launch the app and follow the easy steps to connect to your Wi-Fi network. Connect using the username and password for your existing Wi-Fi and the app will generate a QR code. Scan the code and the camera will chime. If you already have an Arlo base station you don’t need your camera to connect to the Wi-Fi network. You can simply connect t to the Arlo base station and use the local video storage benefit.
Placing your Arlo Security Camera
The ideal height to install your camera at the place of your choice is 6 feet to 7 feet from the ground. Various Arlo camera models come with their own stand and the others can be kept on a shelf. The indoor Arlo camera stands work as a wall mount and can easily be installed with the help of the mounting kit that comes with the camera. Once you have mounted and screwed the camera you can position it for the best available view. Find a vantage point and position your camera also check for the signals.
1. In the Arlo App you can use the Arlo “camera positioning” feature.
2. For that, you need to go to the settings menu.
3. From the “My devices” list choose the camera that you want to adjust.
4. Go to the “Device utilities” and adjust the camera positioning as per your desire.
For video mode. You need to follow steps 1,2,3
And then go to “video settings” and choose “Video Mode”
Find the mode that suits you best as per the camera’s surroundings.
You can also customize the motion zones via the Arlo Camera Setup and Arlo Camera Guide.
Arming your Arlo security Camera
The feature to arm your Arlo Security Camera asks your security camera to send in notifications and recorded clips. This helps you keep privacy whenever you are away from home or are sleeping. You can disarm, arm or schedule the arming procedure as per your location or the time of the arming and disarming procedure.


